
In this post, you will learn how to start working with reports and report extensions in Microsoft Dynamics 365 Business Central. Also, you will learn 2 ways to import the report layout.
- How To Create A Simple Report Layout
- How To Create A Report Extension
How To Create A Simple Report Layout
There are 3 simple steps to start working with Microsoft Report Builder:
- Create the .al file with the report object
- Compile the app to create the .rdl file
- Open the .rdl file “externally” to start working
1. Create the .al file with the report object
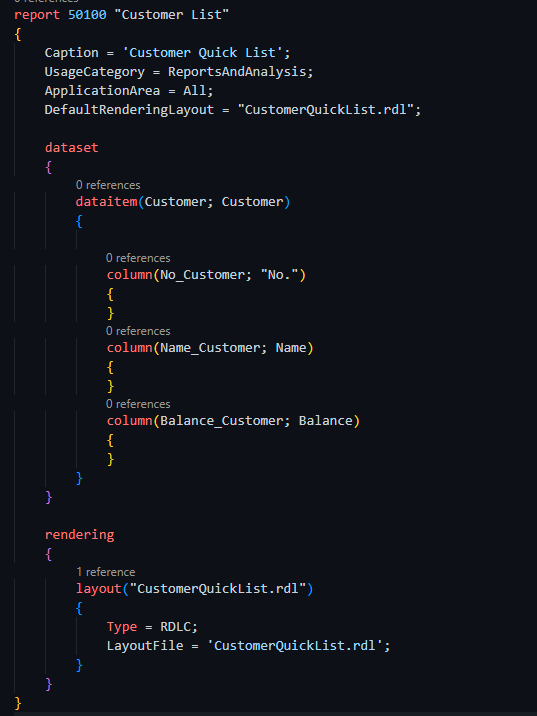
You can choose a report snippet to help you out. Just start writing ‘treport’. A simple report can look something like the following:
2. Compile the .app to create the .rdl file
After that, when you compile the app you will see that a new .rdl file has been created. You can do it with Ctrl+Shift+b. Or press F1 and type package.

This is the file just created:

3. Open the .rdl file “externally” to start working
To open the file just generated you need to right-click and choose the ‘Open externally’ option. Choose Microsoft Report Builder if it doesn´t open automatically. This is the tool we need to use to create rdl reports in Business Central.

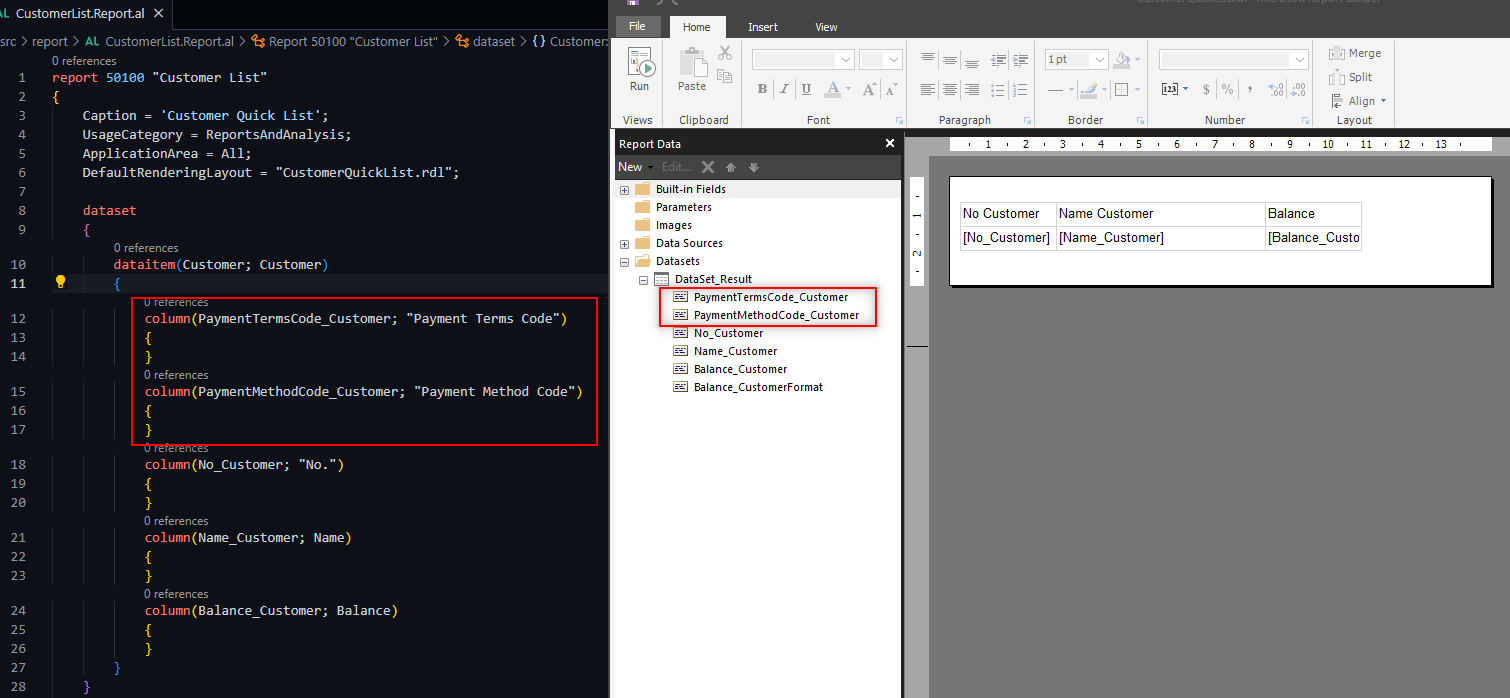
As you can see on the left, on the Dataset there are the three fields we have included. Let´s create a simple table like the following:

When you are finished building the layout save the changes and publish the .app to the environment. You can see the results below.

If you need to add more fields save the .rdl and close the Report Builder. Compile the .app and open the .rdl again.
Video example:
How To Create A Report Extension
What is a Report Extension?
A report extension is a Business Central object introduced in 2021 release wave 1 (BC18) that allows to customize standard reports. Customizations can only add content, that is, we can only add new fields to the report dataset. Existing fields can´t be modified or deleted. Also, the layout itself can´t be extended. Meaning that we will need to create a new one or copy the standard layout and modify it.
Get the full information here:
Follow these steps to create a report extension:
- Find the report you wish to extend
- Create the reportextension and publish it
- Export the layout
- Customize the layout
- Import the new layout
1. Find the report you wish to extend
Check which report is running for the document. You have two options. If it is a document report you can check the report selection page:

Or by inspecting the page on the request page of the report.

2. Create the reportextension and publish it
As we have done before with the report object we can do the same for a report extension. A simple example can be the following. We will extend the purchase invoice report.
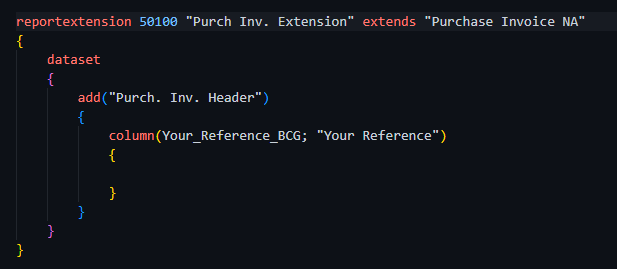
After that, publish the .app to the environment. That way the report will have the extended field included in the dataset.
3. Export the layout
Go to report layout selection and look for the report.

Choose the ‘Custom Layouts’ action and create a new custom report layout:

Choose Insert RDLC Layout.

Export the layout just created.

4. Customize the layout
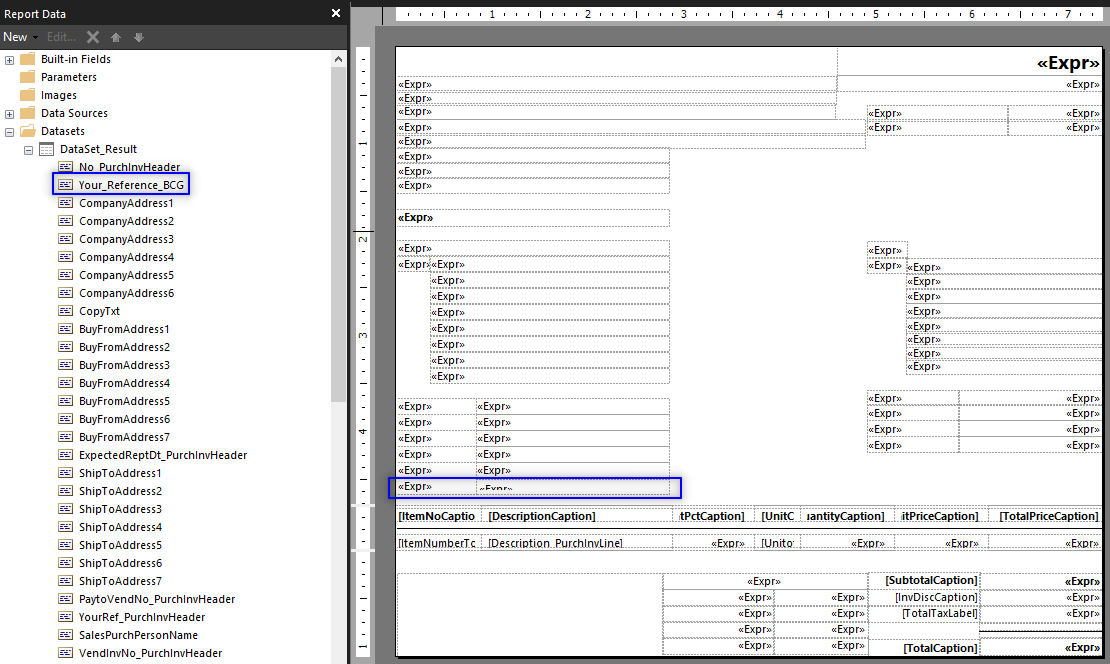
Open the .rdl file. There you will see your new fields. Place them wherever you need them and save it.
5. Import the new layout
We have two options available now.
- Import as a custom layout (old)
- Import as a rdlc layout (new)
Import as a custom layout (old)
We can use the older feature of custom layouts to import and use the new layout. In the ‘Custom Report Layout’ window choose import layout and load the rdl file just modified:

The result will look similar to this one.

Import as a rdlc layout type (new)
To be clear, in this example both options use a rdlc layout. But this one uses the option called ‘Layout Type’. Which is RDLC instead of Custom Layout.
This is a recently added feature. Check out the post:
Choose RDLC Layout Type in the Report Layout Selection page:
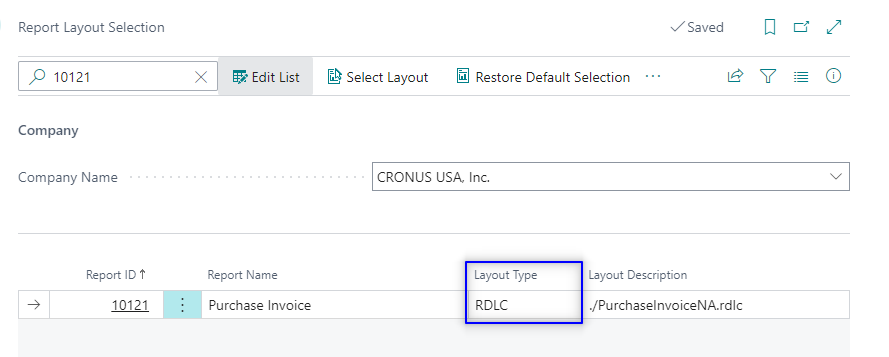
If we try to replace the existing layout an error will pop up:
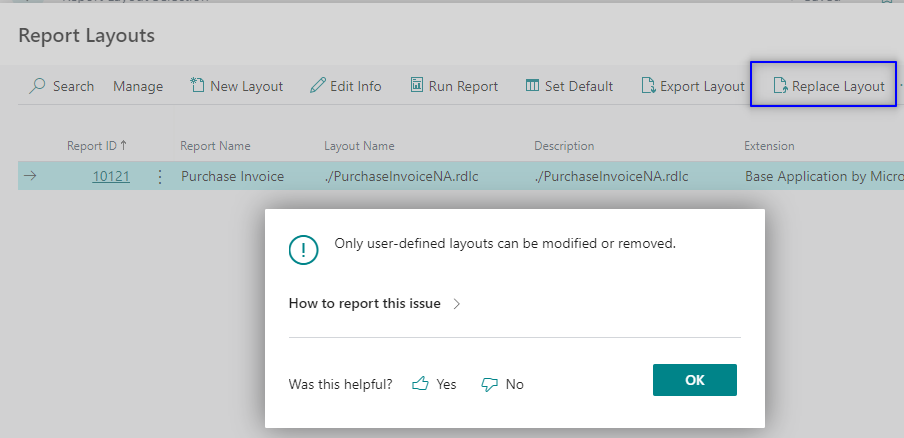
So we need to create a new layout and give it a name:
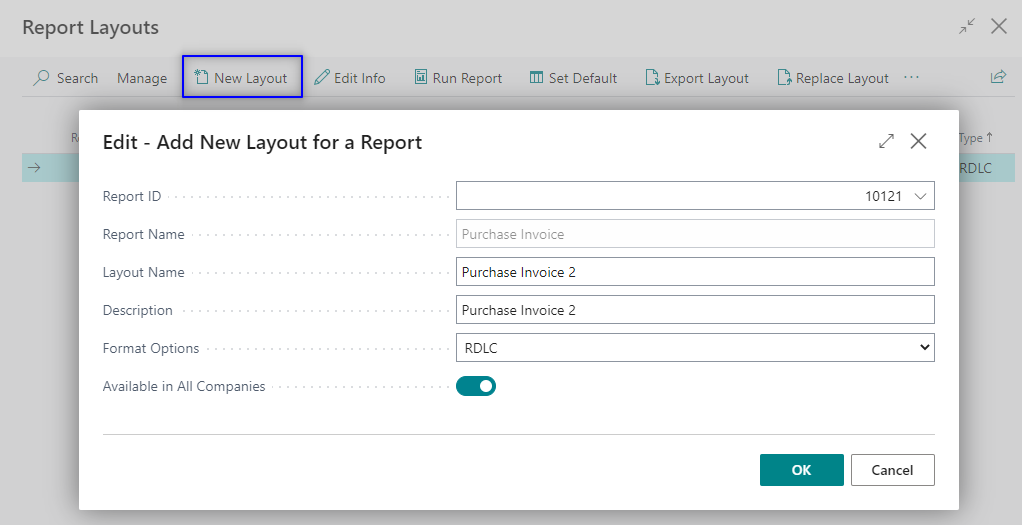
After you click ‘Ok’ you will be asked to choose a RDLC file. Choose the one just modified with the new fields.

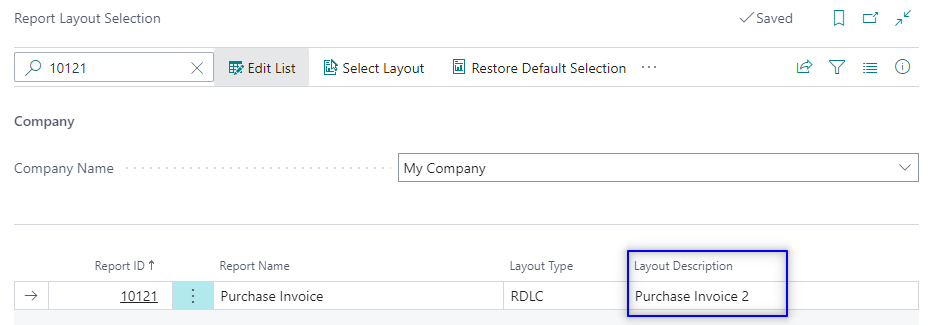
You will get something similar to this one:

The page ‘Report Layout Selection’ will look like this now:
Finally, test the report to see your changes:

Hope you find it useful
I’m trying to add some filter options to the trial balance report in bc23. However, when I extend the report and I add my new filter fields to the request page, they do not show during testing.
This is my work:
requestpage
{
layout
{
addfirst(Content)
{
group(Options)
{
field(AccountingMethod; AccountingMethod)
{
Caption = ‘Accounting Method’;
}
field(AccMethod; AccMethod)
{
Caption = ‘Use Cash Accounting Method?’;
}
}
}
}
}
This is the default request page:
requestpage
{
SaveValues = true;
layout
{
}
actions
{
}
}
I think the default request page not having any controls is part of why i’m not seeing my filter fields.
Hi,
Did you try with ApplicationArea = All?