
Reminders are a significant help in the Accounts Receivables module. In this post, you will learn how to set up reminders, how to issue and send them manually. Also, how to create and send reminders automatically with the new update in Business Central 24.
- What Are Reminders?
- What’s New In BC24?
- How To Send Reminders Manually?
- How To Set Up Automatic Reminders?
- How To Send Custom Email Reminders?
What Are Reminders?
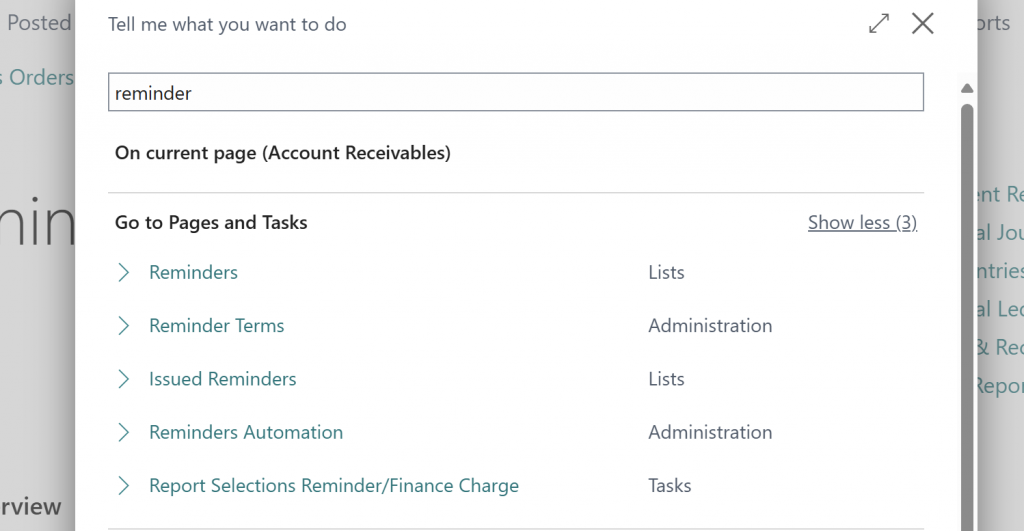
Reminders are the method to handle pending payments with your customers. When they forget to pay a document, you can set up processes to let them know their payments are due.
These are the options available from “Tell me”.
What’s New In BC24?
There are three main additions to the reminders module in Business Central 2024 Release Wave 1.
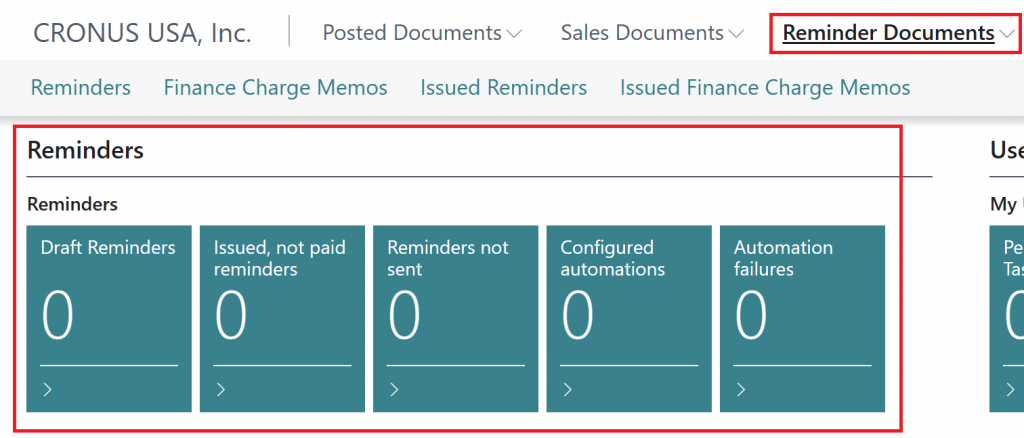
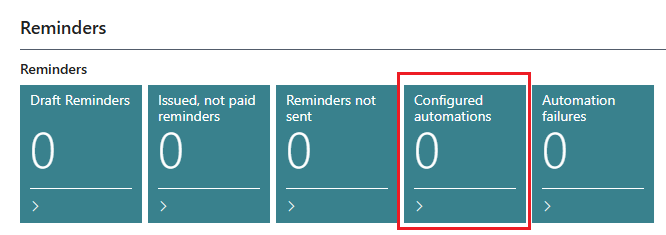
1) A new part was added to the Role Center for Accounts Receivables Administrator. You can see 5 new cues:
2) Automation for reminders. Up to this point you could send reminders manually. Now it can be done automatically. We will explore this option in detail in the following points.
3) Customizable emails. For each reminder level, you can setup different email bodies, attachments, etc.
How To Send Reminders Manually?
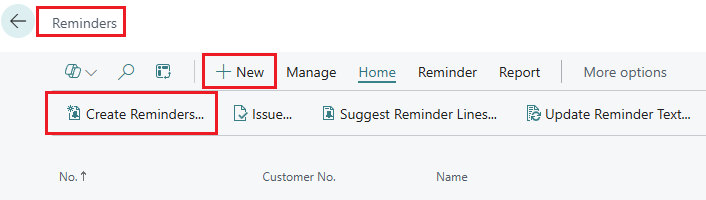
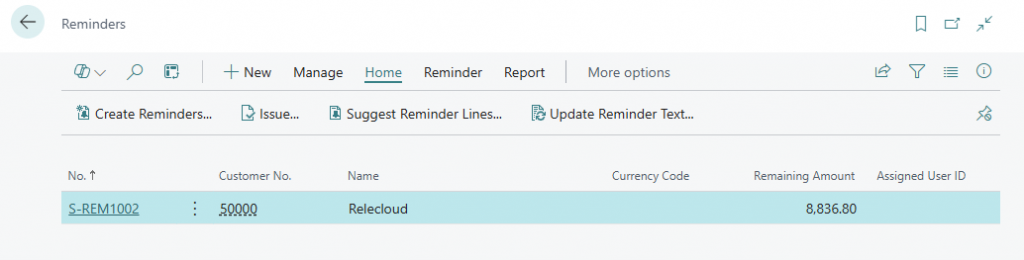
For sending manual reminders go to “Reminders”, choose either “New” or “Create Reminders…”
With this job, draft reminders will be created automatically.

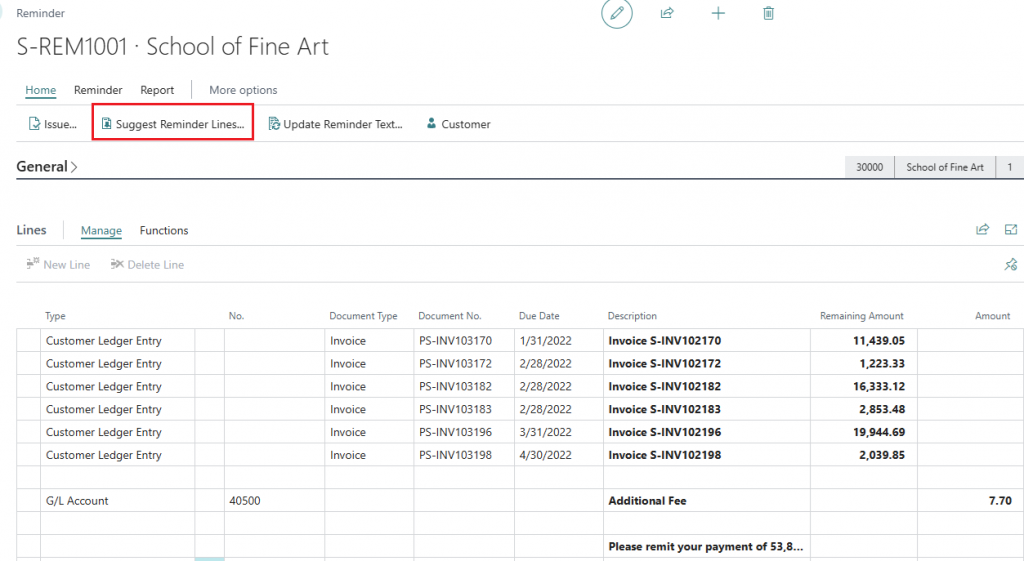
In the following example I chose “New”. I selected a customer and used “Suggest Reminder Lines…”. This will create the following lines with every due invoice.
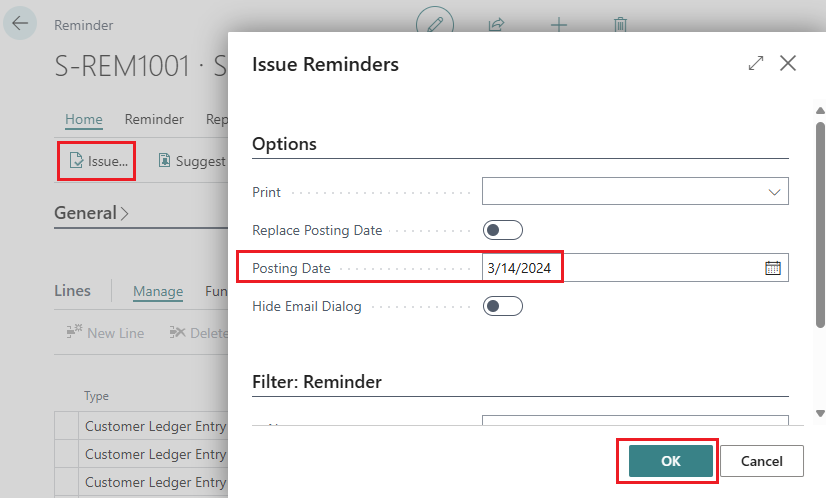
From the header you can click on “Issue…” and specify a posting date. This action won’t send the reminder, this will be done in the next step.
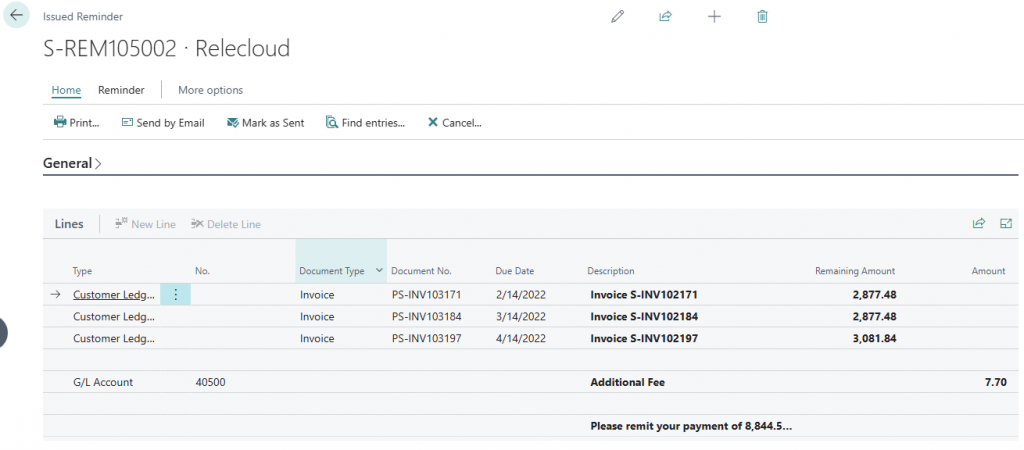
Now, to send by email just go to issued reminders and click on send by email. A preview will open before sending. From here you can amend the recipient, body, and send it with “Send email” action. Note that a document is attached with the issued reminder:

How To Set Up Automatic Reminders?
Keep into account that the process you should follow for a reminder is:
- Draft a reminder.
- Issue the reminder.
- Send the issued reminder.
In other words, a reminder draft must be created first, then issued, and finally sent. In this section you will learn to set these steps automatically.
With these three points in mind, we have to create 3 automations.
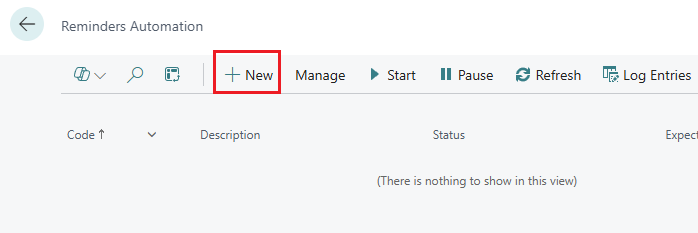
First, create a new automation for creating reminders. Go to “Configured automations” cue or search for “Reminders Automation”.
Click on “New”.
Fill the information:
- Reminder Terms Filter. It will filter your customers’ reminder terms.
- Set up a cadence. For this example, we’ll choose manual. But you can set it to run automatically.
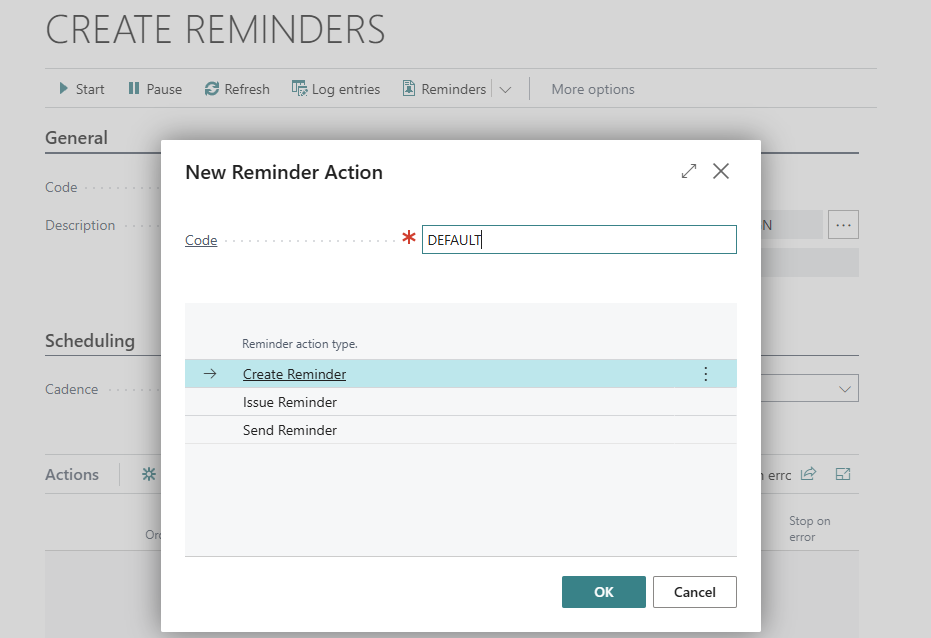
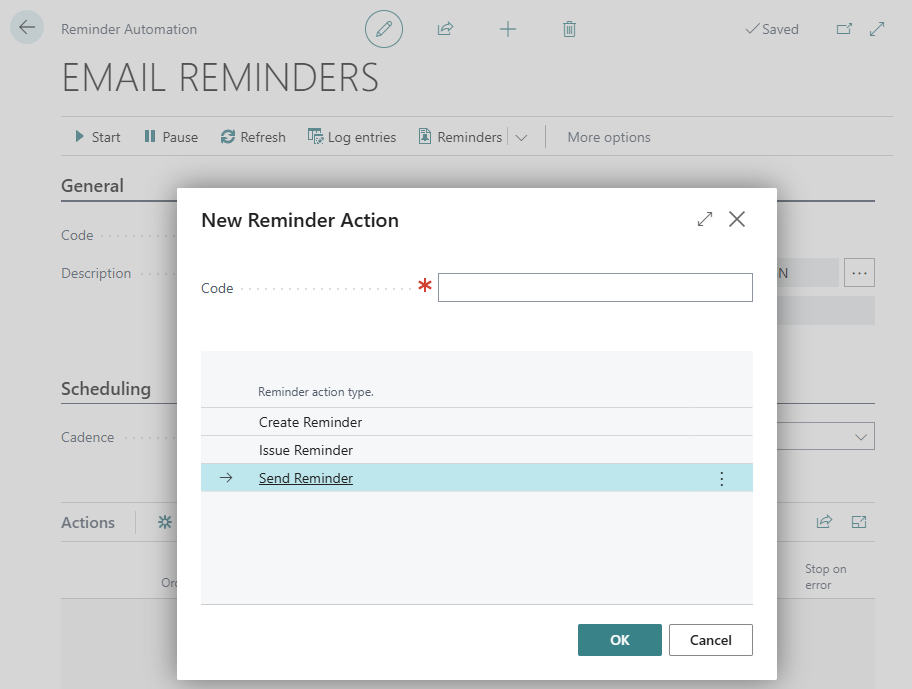
- Create a new Action.
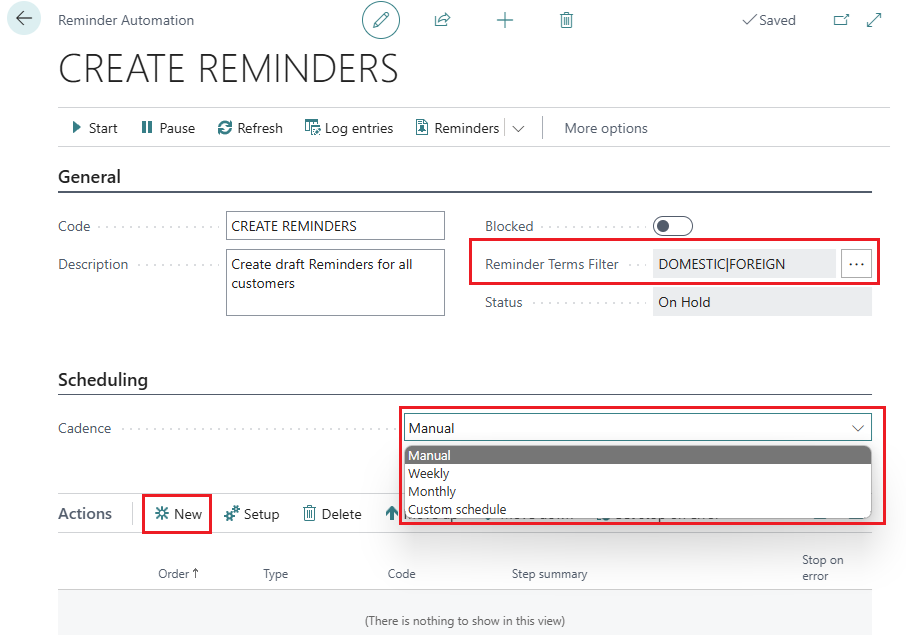
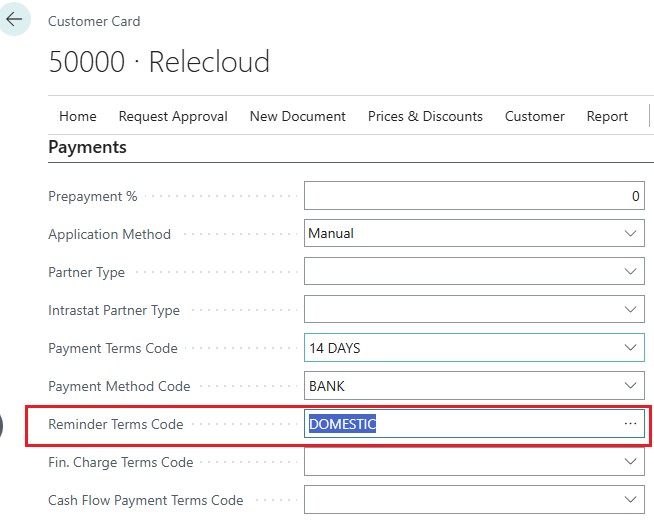
The “Reminder Terms Filter” will apply a filter to your customers. So, make sure to set them up with a “Reminder Terms Code” placed in the Payments group.
When creating the action, choose “Create Reminder”:
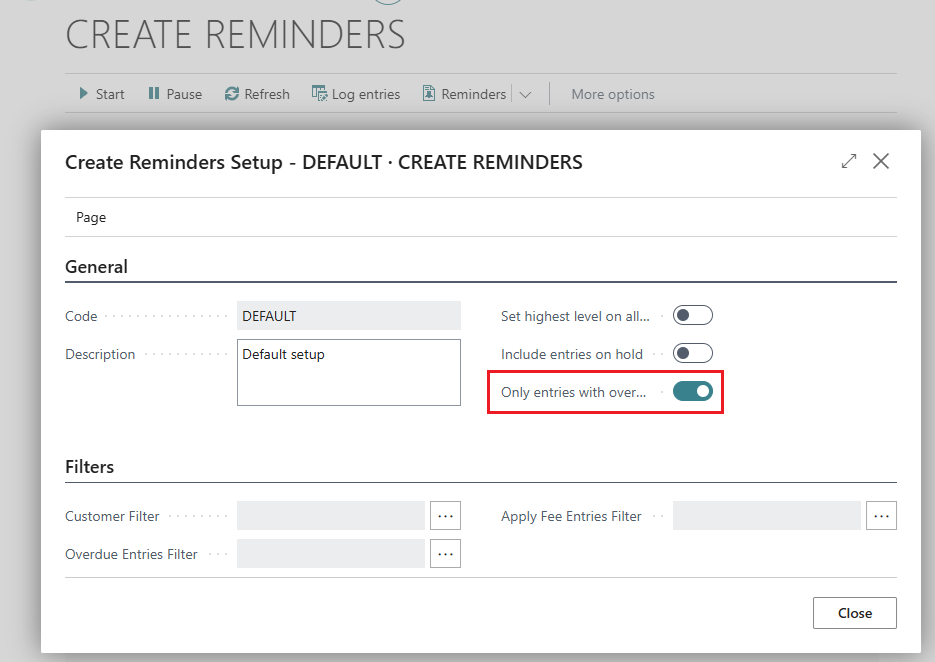
And set it up like this. You can play with different options and filters if you want.
Finally, run the automation:
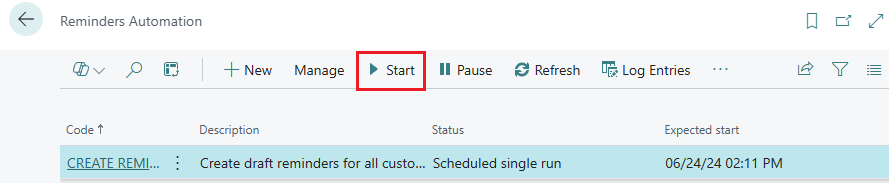
Note that if you set up automatic cadence a job queue entry will be created. Running the “Reminders Automation Job” codeunit periodically.
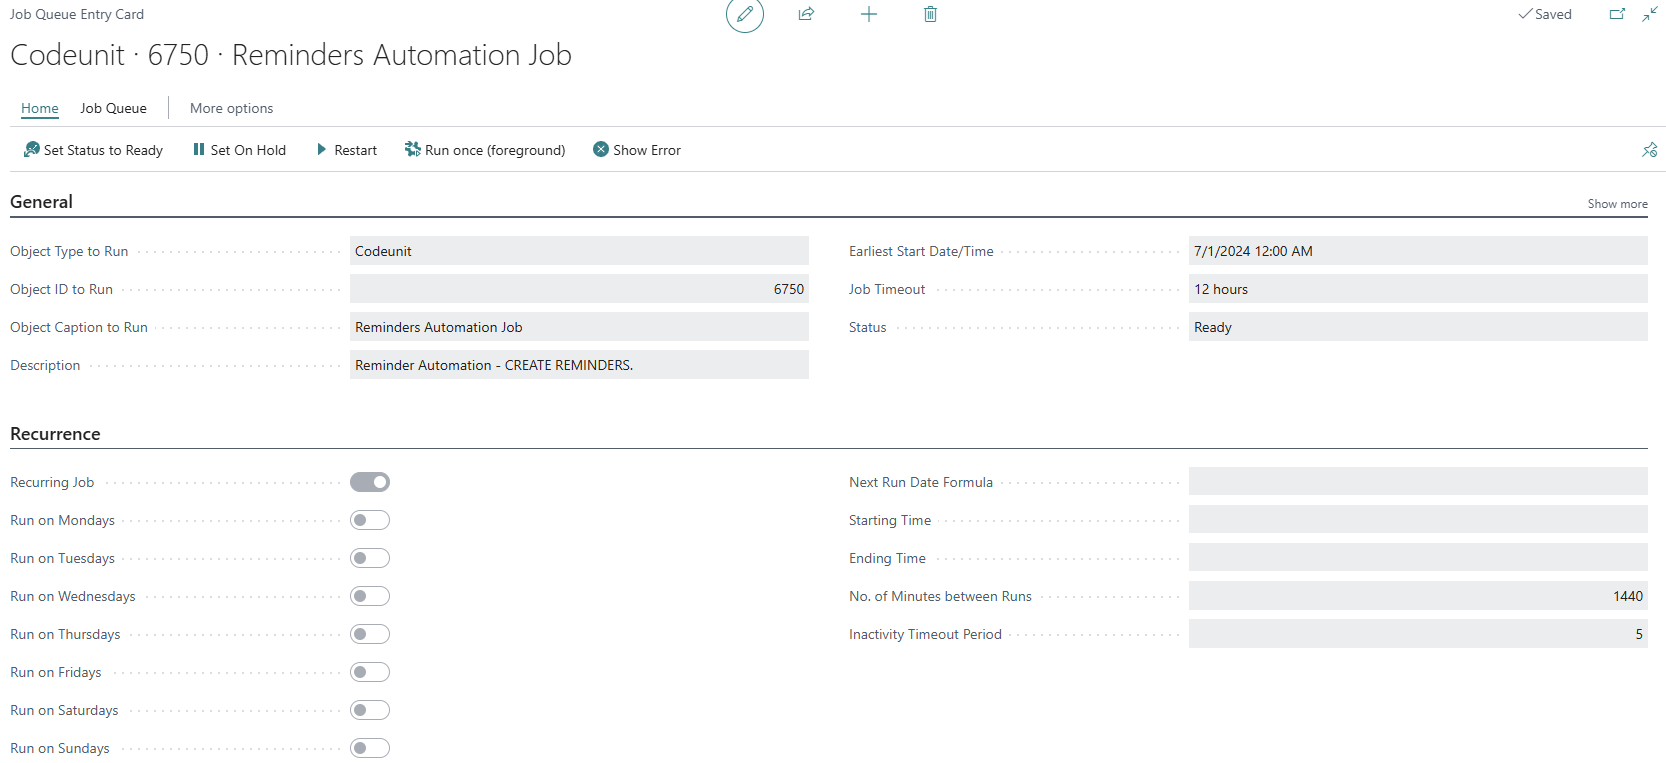
Once the Job Queue runs, you’ll find draft reminders created (if the setup was correct and you have overdue invoices):
Now, set up the automation to issue reminders. Similar to the one just created:
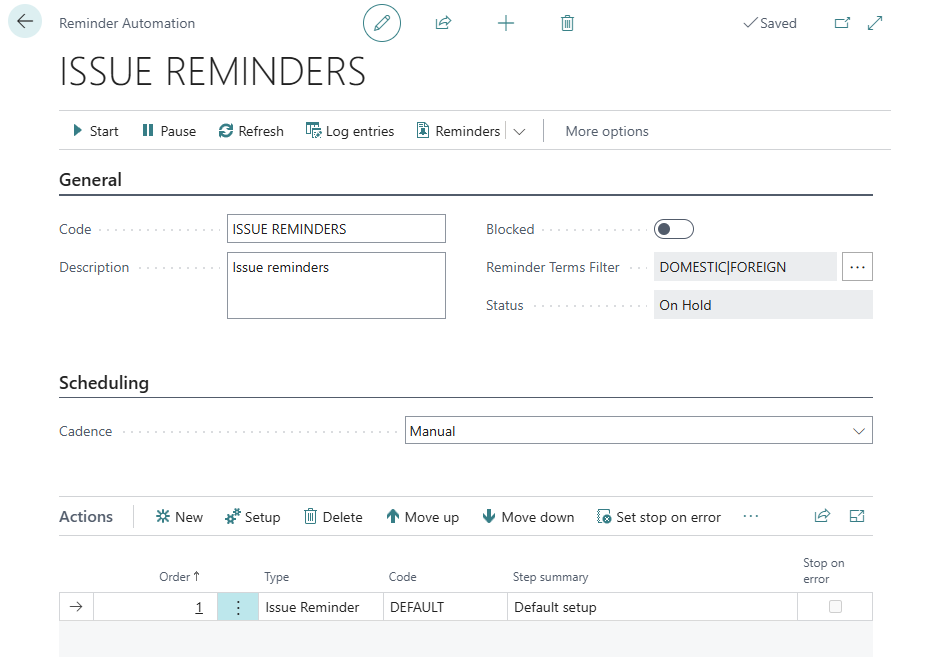
When you run the automation, all draft reminders will go to “Issued Reminders”. From here you can send it manually by email, mark it as sent, and cancel it:
Finally, create the third automation with the action “Send reminders”:
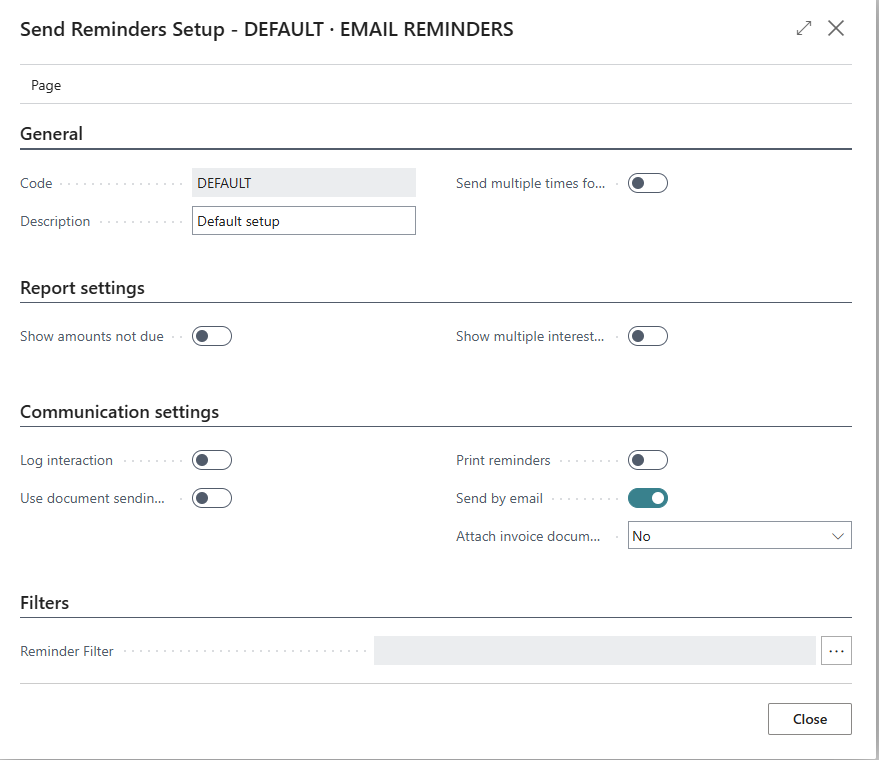
Have a look at the different options available inside this action. You can even include due invoices in your email with the option “Attach invoice documents”.
That’s it, now you just have to run your automations or wait for the job queues.
How To Send Custom Email Reminders?
Important, the following new setup will only be available if you enable it from feature management:

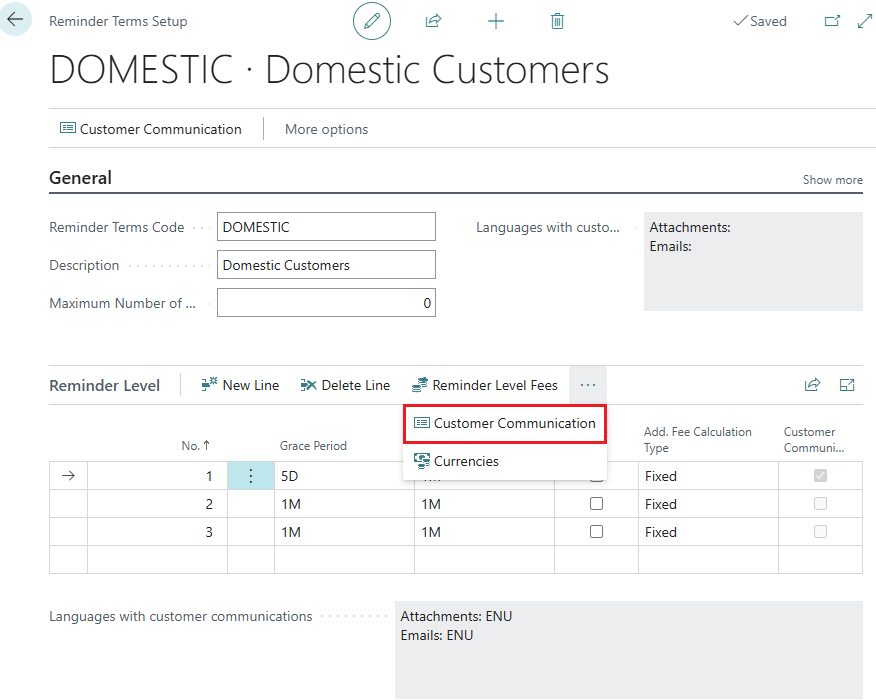
After activating, go to “Reminder Terms” and open the card:

Now, you can create different emails for each reminder level via “Customer Communication”.
If you want to learn more about reminder terms and levels, follow Microsoft documentation:
https://learn.microsoft.com/en-us/dynamics365/business-central/finance-setup-reminders
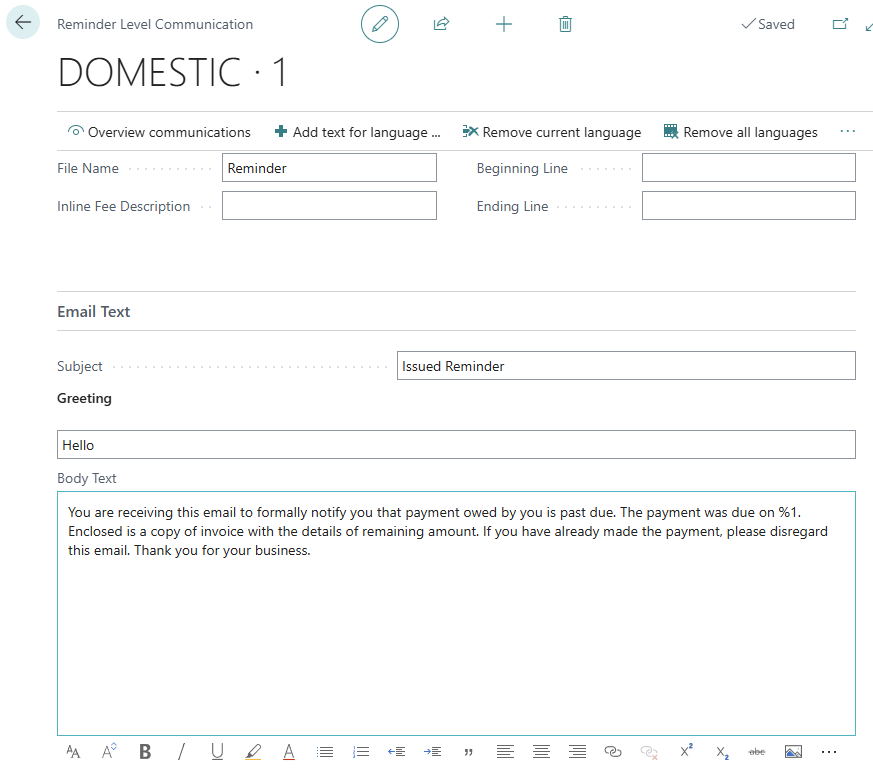
When you open “Customer Communication”, you will see a template like this. You can modify it to your needs.
This is a great way of automating and customizing the reminders for your customers.
For further information, have a look at the following video covering what’s new in BC24.
Or, keep learning about the latest updates in BC24:
That´s all. Hope you find it helpful.
+hi,
I just have a question, the numbers in the tiles are not updated after the sales invoice is paid? It always increase…
Some of our customers has a tile with 999+ reminders. So it is a little bit confused to inform them to use a new way of working.
Can you ellaborate on that?
Hi Alberto,
Please Add more technical blog, I am waiting for log period. Your blog is very helpful for me and every one.
Thanks
Bonjour, pour info, les personnalisation d’email ne fonctionne pas, il faut passer par un word qui va devenir le corps du mail. Le body Text ne fonctionne pas en V25.3, on ne peut pas non plus modifier le word (117) pour insérer le bodytext (bug).
Quelqu’un à réussi?