In this short post, I will show how to publish your web services automatically along with your app. This is not a new feature but since I learned it recently I thought it would be useful for those who still don´t know about it.
Creating The .xml File
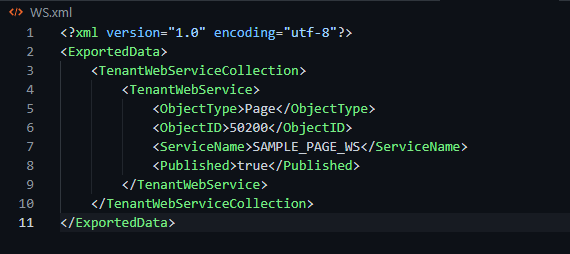
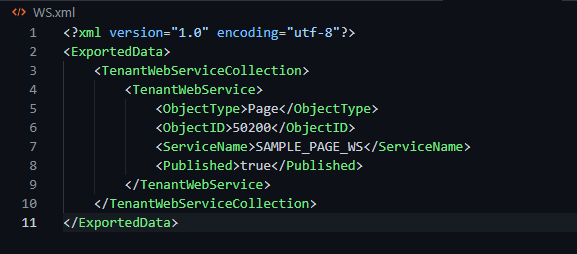
In VS Code we need to create a .xml file. In this example, it´s called ‘WS.xml’.
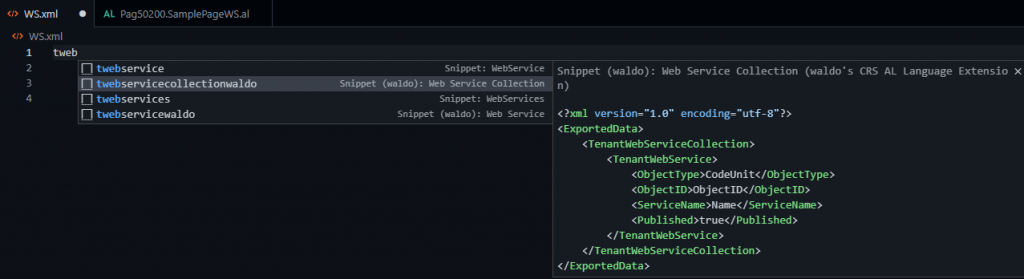
For this purpose, there are snippets already implemented to help us:
We need to set up ‘ObjectType’, ‘ObjectID’, ‘ServiceName’, and the status called ‘Published’. This should be set to true if you´d like the WS to be published automatically. Otherwise, if you wish to publish it manually change it to false.
Automatic Installing
Now when you publish the .app the web service is installed. What is more, when you unpublish the .app, the web service is automatically unpublished at the same time.
This is quite convenient to save time when you have a long list of web services. In this video, you can see how the WS is created and deleted when publishing and unpublishing the app respectively.
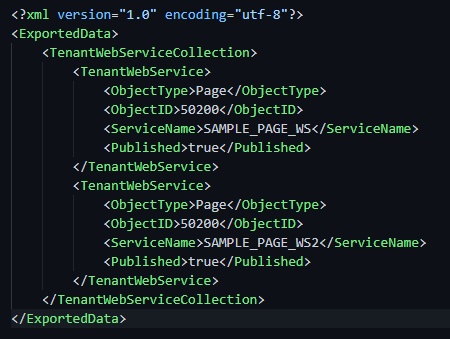
If you need to publish more than one web service, just add it next to the other as follows:
That´s all. Hope you find it useful.
Check this other article on how to boost performance in Business Central.